How To Build Your First Gaming Pc – Full Guide
Table of Contents
You are Noob in the gaming community or your next gift will be a gaming PC for a special person, and you want some help to take the best decision. So you are in the right place.
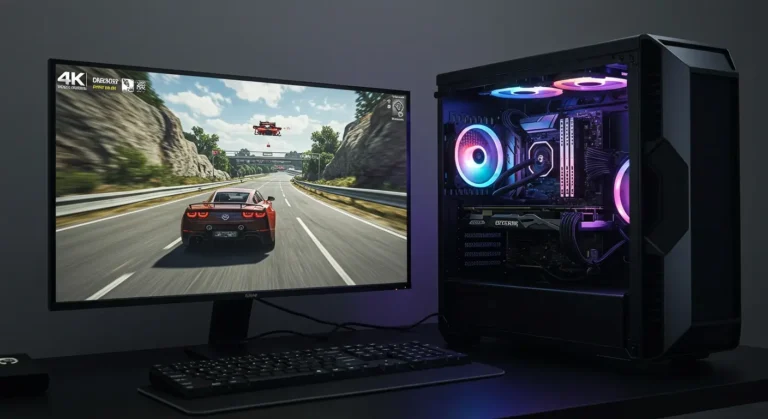
Let’s start building your gaming PC. It doesn’t matter if you are a casual gamer or a competitor in cybersports, building a customized gaming PC is both challenging and thrilling. Not only does tailoring a system enable you to meet your specific requirements, but it also helps you understand computer systems better, and there is nothing quite like the feeling of launching a game on your very own custom-built machine. So, let’s get started!
Defining Your Gaming Needs
Before you start picking out components, it’s essential to figure out what kind of gaming you’ll be doing. Are you someone who enjoys playing the latest AAA titles at max settings, or are you more into casual gaming sessions? Understanding your gaming preferences will help you choose the right components for your build.
If you’re into competitive gaming, you’ll want a system that can handle high frame rates and quick response times. On the other hand, if you’re more into casual gaming or less graphically intensive games, you can opt for a more budget-friendly setup. Either way, knowing your gaming habits will guide your component choices.
To make sure this article is not as long as should it be we will give a large overview of each part, but we will talk about every single component and the best choices depending on your needs and your budget in other posts.
Choosing the Right Components
Building a gaming PC involves selecting the right components that work together seamlessly. Let’s break down each essential part and what you need to know.
a. Processor (CPU)
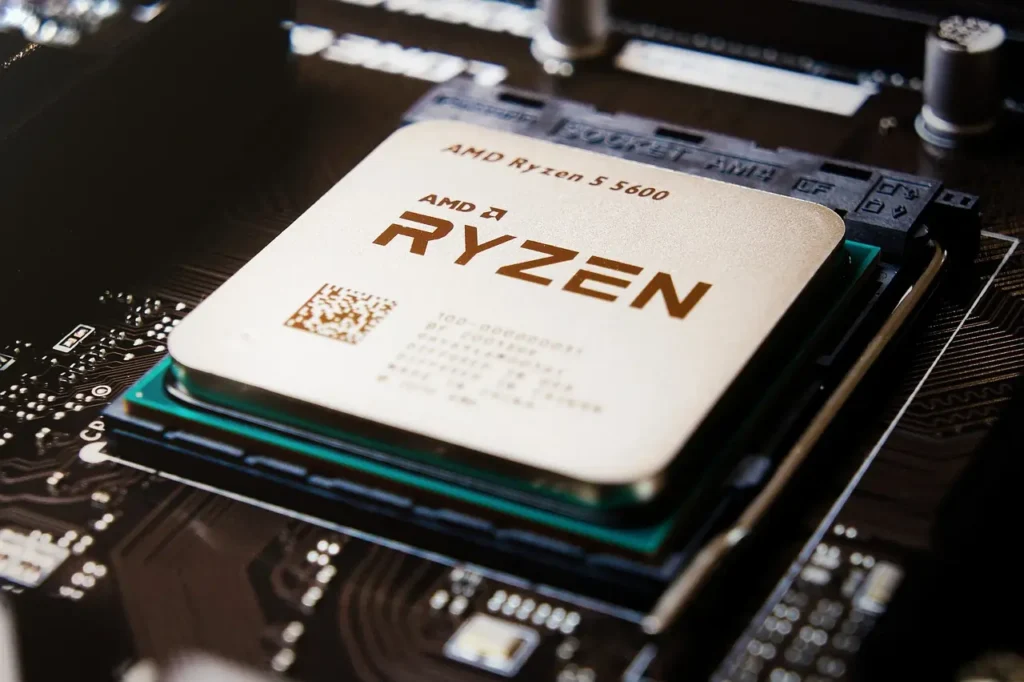
The CPU, or Central Processing Unit, is the brain of your computer. It handles all the instructions and calculations necessary for your games to run smoothly. For gaming, you’ll want a CPU that can handle the demands of modern games without bottlenecking your GPU.
Popular choices for gaming CPUs include the Intel Core i5 and i7 series, as well as AMD’s Ryzen 5 and 7 processors. These CPUs offer excellent gaming performance and are widely supported by motherboards and other components.
the great choice it will be impacted by many technical factors like performance, compatibility with other components, Energy consumption, cooling requirements, and many other factors …
Maybe you will be confused between these two choices AMD or Intel, But we will discuss this topic in another post.
b. Graphics Card (GPU)
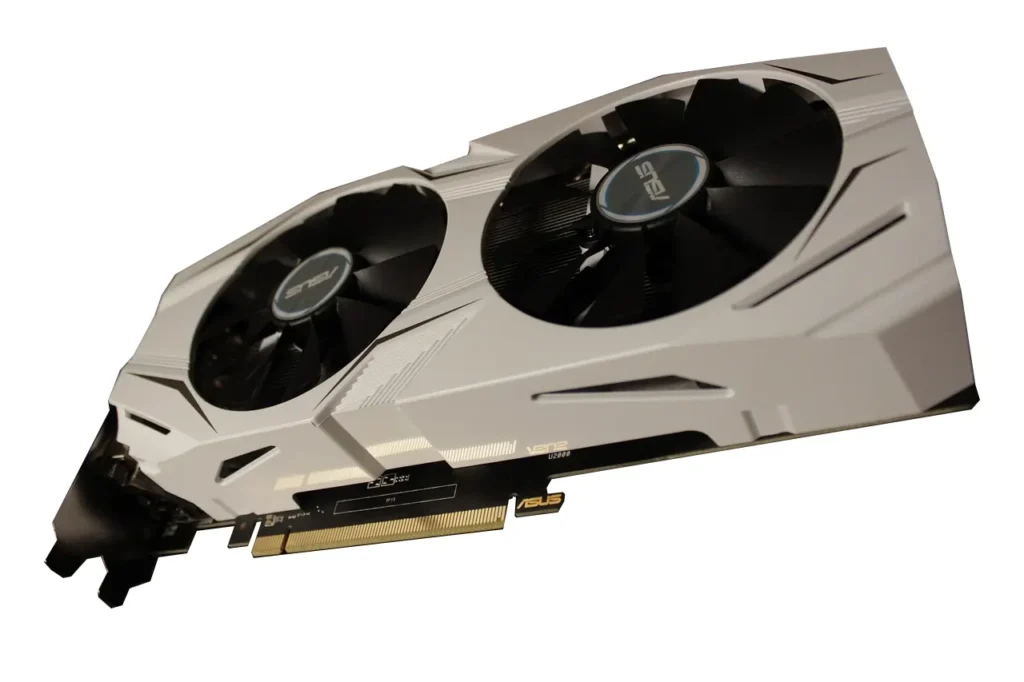
The GPU, or Graphics Processing Unit, is responsible for rendering the visuals in your games. It’s the most critical component for gaming performance, especially if you’re aiming for high-resolution and smooth gameplay.
When choosing a GPU, consider your budget and the resolution you plan to game at. For 1080p gaming, mid-range GPUs like the NVIDIA RTX 3060 or AMD Radeon RX 6700 XT are excellent options. If you’re aiming for 1440p or even 4K, you’ll want to look into higher-end models like the RTX 3080 or Radeon RX 6900 XT.
Pick up the right GPU for your need it will after define your budget, your displaying resolution requirements and the technologies must be contained.
c. Memory (RAM)
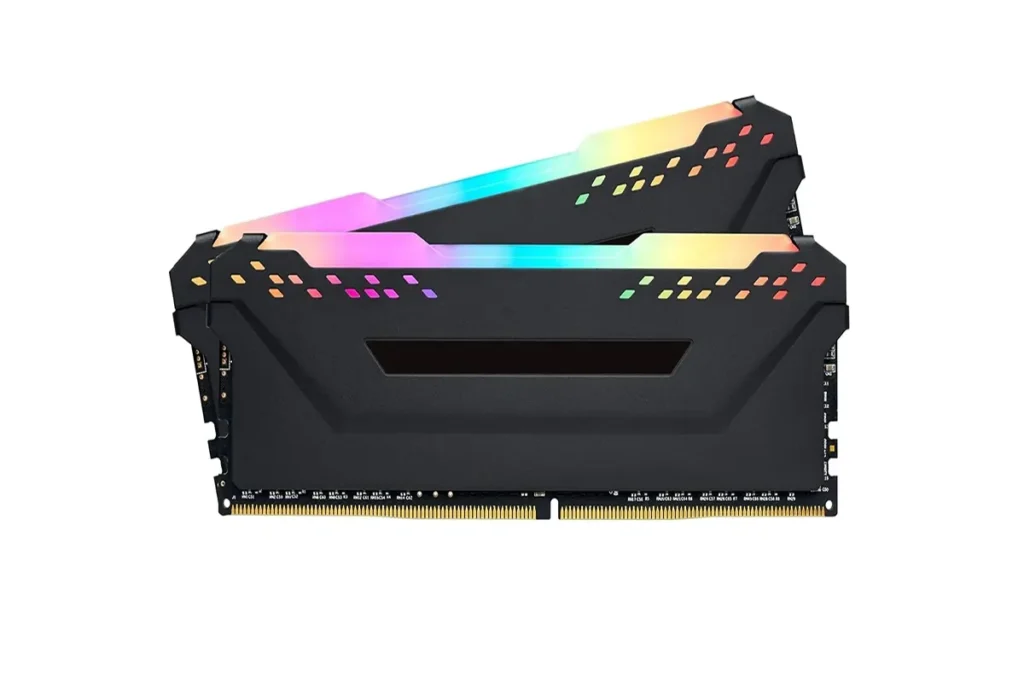
RAM, or Random Access Memory, is crucial for running your operating system and applications smoothly. For gaming, 16GB of RAM is generally sufficient at this moment, but if you plan on multitasking or running memory-intensive applications alongside your games, 32GB or 64 GB might be a better choice for the future update.
When it comes to RAM types, DDR4 is the most common and affordable option, while DDR5 offers faster speeds and lower latency. However, DDR5 is compatible with the new generation of motherboards.
d. Storage (SSD or HDD)
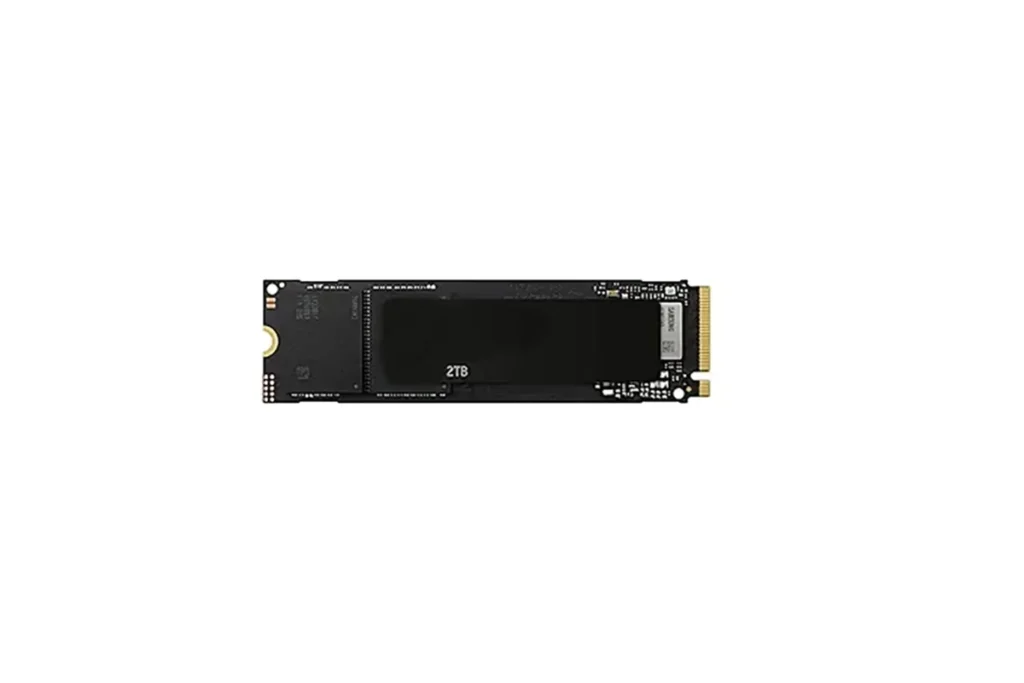
Storage is where your games and operating system will reside. There are two main types of storage: SSDs (Solid State Drives and nvme m.2) and HDDs (Hard Disk Drives).
SSDs are faster and more reliable, making them ideal for gaming. They allow for quicker load times and smoother gameplay. However, they are more expensive per GB compared to HDDs. HDDs, on the other hand, offer more storage space at a lower cost but are slower and more prone to fragmentation.
For gaming, it’s recommended to use a nvme M.2 for your operating system and frequently play games, while using an SSD for additional storage of larger games or media. and to be honest, HDD is not a good choice anymore specially the good prices for SSD.
e. Motherboard
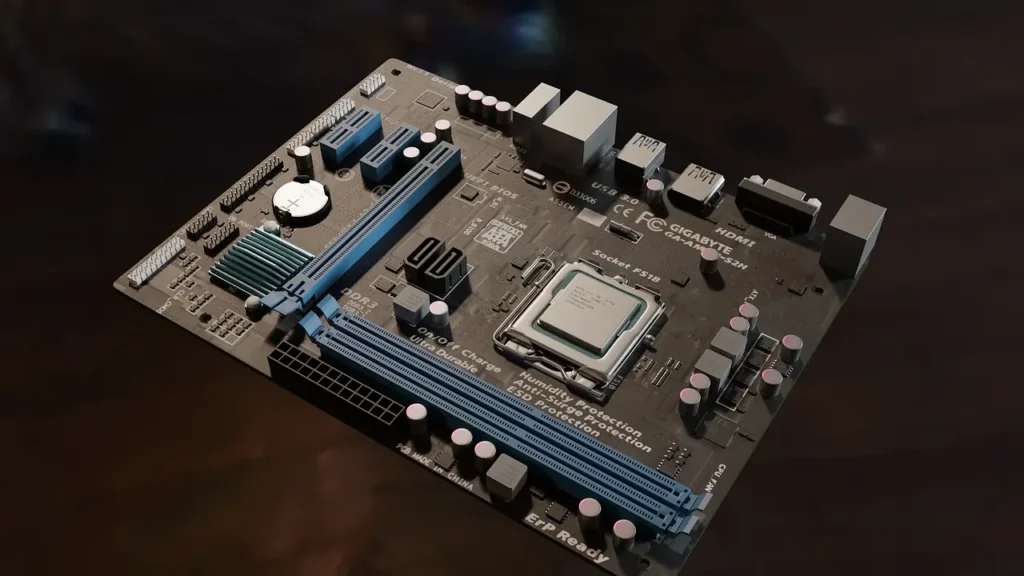
The motherboard is the backbone of your PC, connecting all the components. When choosing a motherboard, ensure it is compatible with your CPU and has the necessary ports and slots for your other components.
Look for a motherboard with good build quality, plenty of USB ports, and support for features like PCIe 4.0 for faster data transfer rates. For gaming, a motherboard with robust power delivery and a good VRM (Voltage Regulator Module) design is essential to keep your CPU and GPU running smoothly.
f. Power Supply Unit (PSU)
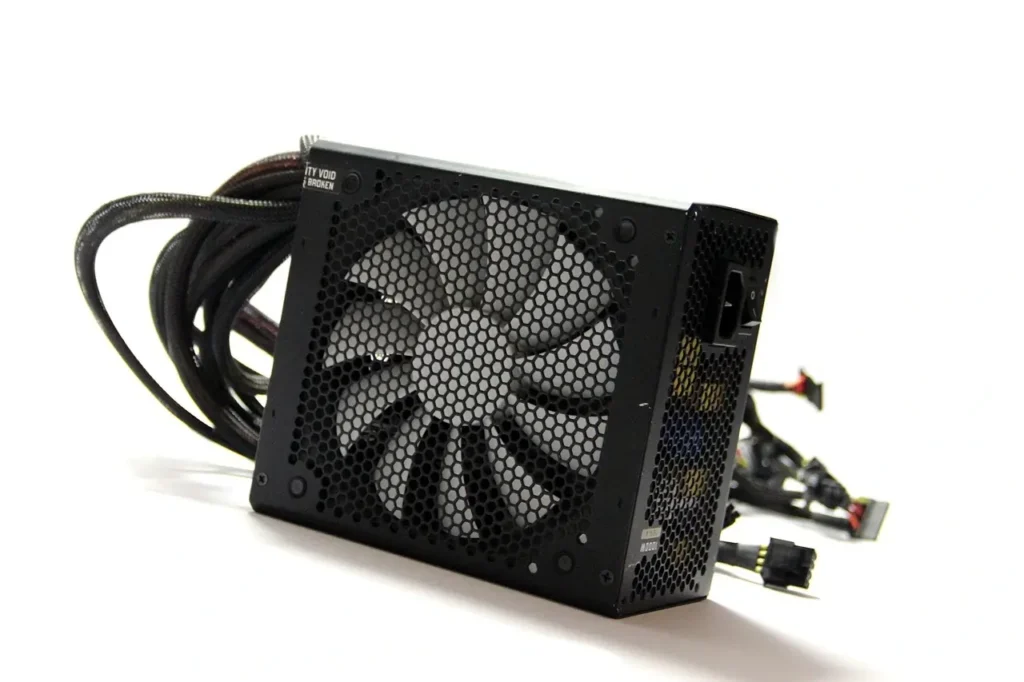
A reliable PSU is crucial for the stability and longevity of your gaming PC. It provides power to all your components, and a failure here can lead to hardware damage or system crashes.
When selecting a PSU, consider the total power consumption of your components. A good rule of thumb is to choose a PSU with a wattage rating that’s 10-20% higher than your system’s maximum power draw. Additionally, look for PSUs with an 80+ certification, as they are more efficient and produce less heat.
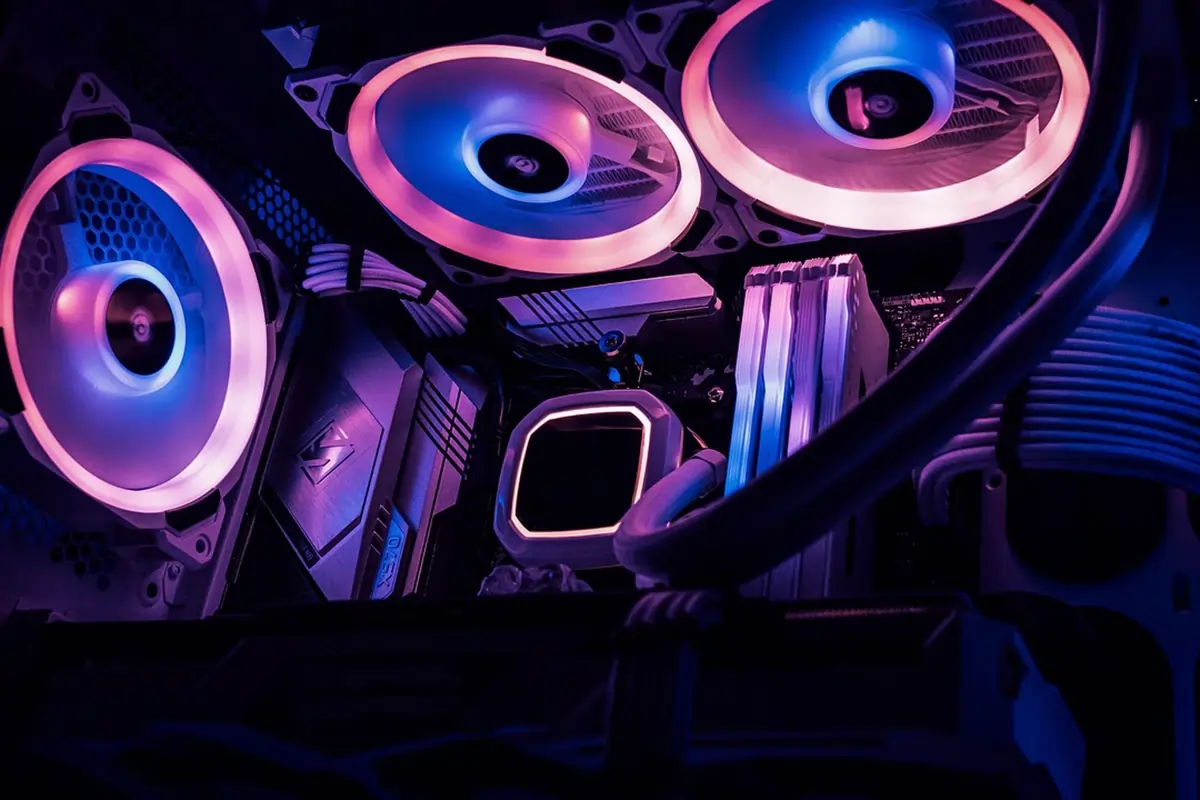
g. Cooling System
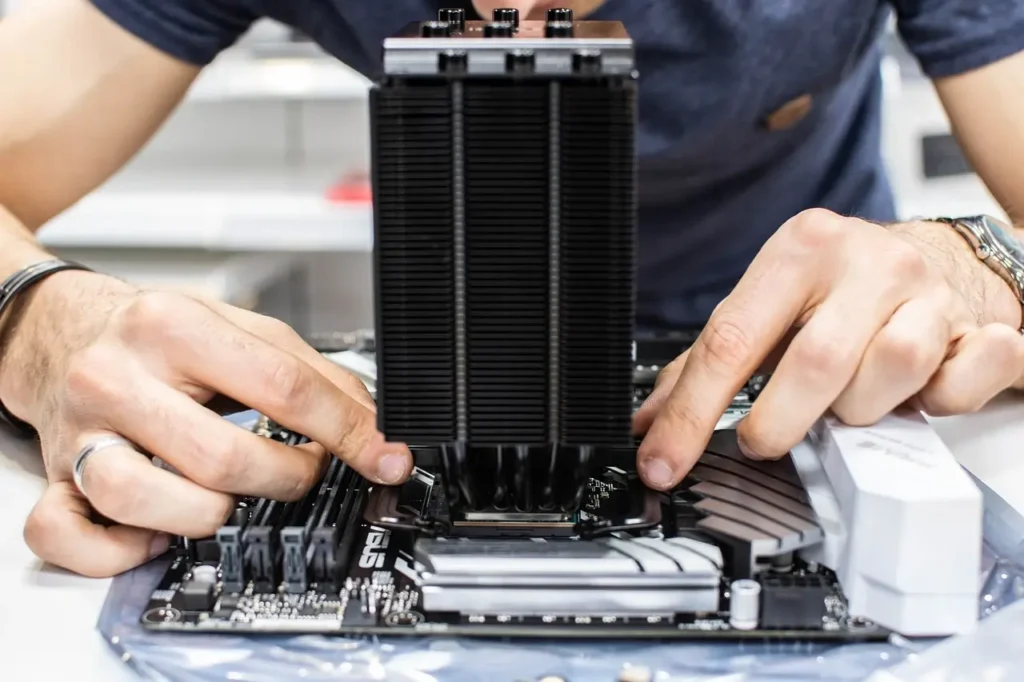
Cooling is essential to keep your components running at optimal temperatures. There are two main types of cooling systems: air cooling and liquid cooling.
Air cooling is more common and easier to maintain. It uses fans and heatsinks to dissipate heat. Liquid cooling, on the other hand, circulates coolant through the system to absorb and distribute heat. While more efficient, liquid cooling can be more complex to set up and maintain.
For most gaming PCs, a good air-cooling setup with high-quality fans and radiators is sufficient. However, if you’re building a high-performance system or overclocking your components, or you looking for a nice design, liquid cooling might be worth considering.
h. Case
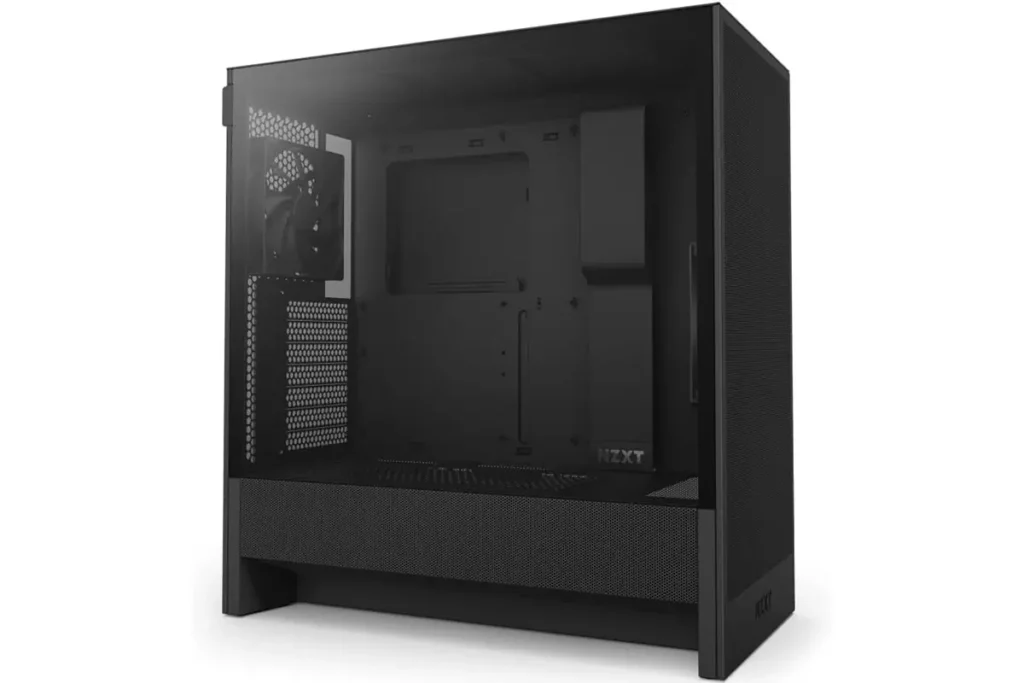
The case is the outer shell of your PC, providing protection and housing for all your components. When choosing a case, consider its size should be compatible with motherboard size, airflow, and aesthetic appeal.
A larger case offers more space for components and better airflow, which is crucial for cooling. Smaller cases are more compact but may have limited space and airflow. Additionally, cases come in various designs, from sleek and minimalist to bold and customizable, so choose one that fits your style.
Assembling Your Gaming PC
Now that you’ve selected all your components, it’s time to put them together. Here’s a step-by-step guide to assembling your gaming PC:
- Prepare Your Workspace: Ensure you have a clean, static-free workspace and bring all necessary tools. Use an anti-static wrist strap to prevent damage to your components.
- Install the CPU: get your motherboard and unbox it, Carefully place your CPU into the motherboard’s CPU socket, aligning the notches correctly.
- Install RAM: Insert your RAM sticks into the designated slots on the motherboard, applying even pressure until they click into place, if you have two sticks and 4 slots insert the first one in the first slot and the second one in the third slot.
- Install Storage Drives: if you have m.2 SSD insert in m.2 port on motherboard. if you have SSD and/or HDD keep it side with SATA cables.
- Prepare Your Case: this depends on your case but generally open it and read the user guide, put it horizontally,y and fix the motherboard on your case with screws after that install your CPU cooling system and hard driver in their place and connected to the motherboard with SATA cables.
- Install the PSU: Place the PSU in the case and connect the necessary power cables to the motherboard, CPU,
- Install the GPU: Attach your GPU to the PCIe slot on the motherboard and secure it with screws.
- Connect Fans and Cooling: Install case fans and connect them to the motherboard or a fan controller for optimal airflow.
- Secure Components: Use screws and brackets to secure all components inside the case.
- Connect Cables: Route and secure all cables neatly to ensure proper airflow and a clean build.
- Power On and Test: Plug in your PC, connect your monitor, keyboard, and mouse, and power it on to test if everything is working correctly.
Installing and Configuring Software
Once your hardware is set up, it’s time to install and configure your software.
- Operating System: Install your preferred operating system, whether it’s Windows or Linux. For gaming, Windows is generally recommended due to better driver support and compatibility.
- Drivers and Software: Install the latest drivers for your GPU, CPU, and other components to ensure optimal performance. Additionally, install any necessary software like game launchers or optimization tools.
- Optimise Performance: Use tools like MSI Afterburner or HWMonitor to tweak your system settings and ensure everything is running smoothly.
Customizing Your Gaming Experience
Now that your Gaming PC is up and running, it’s time to customize your gaming experience.
- In-Game Settings: Adjust your in-game settings to balance performance and visuals. Experiment with different settings to find the sweet spot for your system.
- Display Settings: Configure your monitor’s settings for better color accuracy, contrast, and response time. Consider enabling features like FreeSync or G-Sync for smoother gameplay.
- Customize Your Build: Add personal touches to your PC, like custom RGB lighting or unique case modifications, to make it truly yours.
Common Issues and Troubleshooting
Even with careful planning, you may encounter some issues along the way. Here are some common problems and how to resolve them:
- Hardware Conflicts: If components aren’t compatible, you may experience system crashes or performance issues. Double-check compatibility before purchasing components.
- Overheating: If your PC overheats, ensure proper airflow and consider upgrading your cooling system.
- Performance Bottlenecks: If one component is underpowered compared to others, it can bottleneck your system. Balance your components to avoid this.
Maintenance and Upgrades
Regular maintenance is essential to keep your gaming PC running smoothly.
- Clean Your PC: Dust can accumulate inside your case, leading to overheating. Regularly clean your components and fans.
- Update Drivers and Software: Keep your drivers and software up to date to ensure optimal performance and security.
- Plan for Upgrades: As technology advances, you may want to upgrade components like your GPU or RAM to keep up with the latest games.
Conclusion
Building your first gaming PC is a rewarding experience that allows you to create a customized system tailored to your needs. By following this guide, you’ve taken the first steps towards creating a powerful gaming machine. Remember, the journey doesn’t end here—continue to tweak, customize, and upgrade your PC to keep it at the cutting edge of gaming performance.
So, what are you waiting for? Start planning your build, gather your components, and get ready to dive into the world of custom gaming PCs. The satisfaction of playing your favorite games on a machine you’ve built yourself is unparalleled. Happy building!